Mastering Your Summer Campaigns with Professional Flyer Illustration Icons
Summer is the busiest season for marketing, events, and social engagement. Whether you are a small business owner launching a seasonal sale, a freelancer designing an event poster, or a blogger creating content for Instagram, the visual appeal of your materials dictates your success. This is where a comprehensive Summer Flyer Illustration Icons pack becomes an indispensable asset. It offers everything you need to construct a vibrant summer-themed scene, advertisement, or poster without starting from scratch. However, simply downloading assets isn't enough; understanding how to utilize them correctly across different media is what separates amateur designs from professional results.
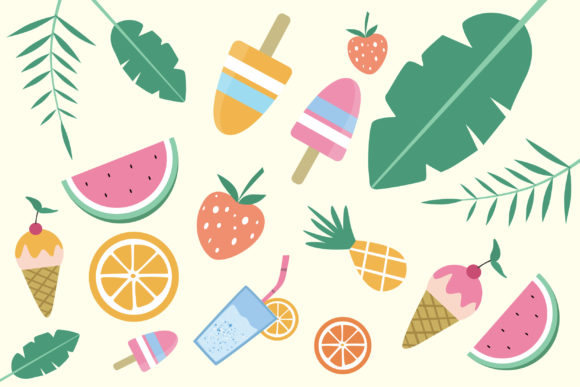
The core value of a high-quality icon pack lies in its versatility. A robust collection should include cool icons depicting fruits, ice cream, tropical plants, and refreshing drinks, all organized to streamline your workflow. Yet, many creators overlook the technical specifications required for different outputs, leading to frustrating results. By understanding the nuances of file formats, color modes, and resolution, you can avoid common pitfalls that compromise the quality of your work.
Avoiding the Print vs. Digital Color Trap
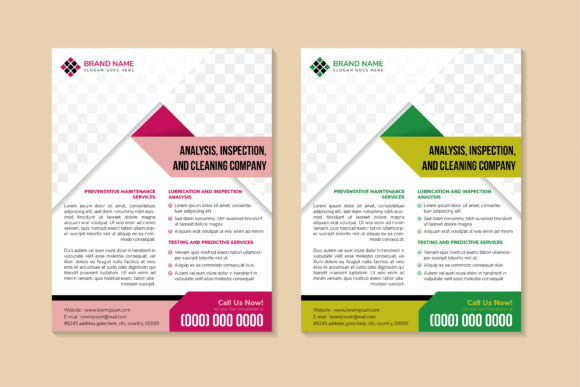
One of the most frequent mistakes designers make, especially those new to print production, is ignoring the difference between CMYK and RGB color modes. When you prepare a design for a physical flyer, using the wrong color profile can result in dull, muddy colors that look nothing like the vibrant screen preview. A professional Summer Flyer Illustration Icons set addresses this by providing specific files for each medium. For instance, a ready-to-print flyer should be in CMYK at 300ppi. This ensures that the bright yellows of a lemon icon or the deep greens of tropical leaves translate accurately onto paper.
Conversely, using these print-ready files for social media can be equally problematic. Digital screens operate on RGB. If you upload a CMYK image to Instagram or Facebook, the colors may appear washed out or shift unexpectedly. The ideal solution is to utilize a pack that includes both versions. Look for resources that offer an RGB version of the Flyer, specifically sized at 1080x1920 pixels. This resolution is perfect for digital publication on stories and reels, ensuring your summer theme pops on mobile devices. By checking for these dual-format inclusions before you start designing, you save yourself the hassle of converting files later, which can sometimes degrade image quality.
The Importance of Bleed and Safe Zones
When preparing a physical flyer, another overlooked detail is the bleed line. Many beginners design right up to the edge of their canvas, only to find that the final printed product has unwanted white borders due to slight cutting variations. A professional template eliminates this risk by including a 3mm bleed line. For a standard flyer size of 8.74x11.24 inches, this extra margin ensures that your background colors and images extend beyond the cut line, resulting in a clean, edge-to-edge print.
Furthermore, a well-organized file will include a dedicated layer for cutting guides. This allows you to visualize exactly where the trim will happen without accidentally placing critical text or logos too close to the edge. Ignoring these guides can lead to truncated text or off-center compositions. Always take a moment to toggle these guide layers on during your setup phase. It is a small step that significantly enhances the professionalism of your final output.
Maximizing Efficiency with Editable Layers
Time is a crucial resource for entrepreneurs and marketers. A common inefficiency occurs when designers purchase flat image files that cannot be easily modified. If you need to change the color of an ice cream cone to match your brand palette, doing so in a flattened JPEG is nearly impossible without losing quality. The superior approach is to invest in a pack where the complete set of icons is provided in PSD format.
In a fully editable PSD environment, every single shape is isolated on its own layer. This structure allows you to quickly change colors with just one click using adjustment layers or solid color fills. Imagine needing to adapt a tropical plant icon from green to a branded teal; with proper layer organization, this takes seconds rather than minutes. Additionally, ensure the pack is well-organized into folders. A chaotic file structure wastes time searching for specific elements like drinks or fruits. A helpful resource will also include a text file to assist with the first set-up, guiding you through the folder hierarchy so you can hit the ground running.
Ensuring Quality Across All Platforms
Consistency is key in branding. Whether your audience sees your summer campaign on a street pole or a smartphone feed, the quality must remain high. Low-resolution icons can pixelate when scaled up, making your business look unprofessional. Always verify that the assets are high quality and vector-based or high-resolution raster images suitable for scaling. The inclusion of a Story PSD alongside the main flyer ensures that your visual language remains consistent across different aspect ratios.
Moreover, don't underestimate the value of a help file. Even experienced designers can benefit from documentation that explains specific features or installation steps. This support material acts as a safety net, ensuring you utilize the full potential of the toolset. By choosing a package that prioritizes organization and includes comprehensive support, you reduce the learning curve and focus more on creativity.
Making the Right Choice for Your Project
Before downloading or purchasing any design asset, perform a quick audit of your project needs. Ask yourself: Will this be printed, viewed online, or both? Do I need to customize colors to match existing brand guidelines? Is the file structure logical enough for my team to use efficiently? By answering these questions, you can evaluate whether a specific Summer Flyer Illustration Icons pack meets your requirements.
Avoid the temptation to grab free, low-quality alternatives that lack CMYK profiles or editable layers. The initial savings are often outweighed by the time spent fixing color issues or recreating elements from scratch. Instead, opt for a complete solution that offers Print and Web files, PSD flyers, and a full PSD icon set. This holistic approach guarantees that you have the right tools for every stage of your campaign, from concept to final distribution.
Ultimately, the goal is to create a summer-themed scene that captivates your audience and communicates your message clearly. By paying attention to technical details like bleed lines, color modes, and layer organization, you elevate your work from good to great. Use these practical insights to navigate the vast array of design resources available, and select tools that empower you to work smarter, not harder. With the right preparation and high-quality assets, your summer advertisements and posters will stand out in a crowded marketplace.